Cabinet and Display Lighting Using LED Strip Lights and Aluminum Channels
For this project we used our Ribbon Star Max Warm White LED Strip Lights inside of our Triangle Shape Aluminum Extrusion with clear cover to create custom lighting fixtures to illuminate these cabinet shelves. This project can easily be done with a few cutting tools, drills, and the ability to solder wire to the strip lights. The newly added LED Lighting brought a modern, clean and unique feel to a dark and uninviting cabinet area.
| PROJECT INFORMATION | |
| Completion Time | 1 - 3 hours for average person |
| Skill Level | Intermediate - Advanced |
| Tools Used | Tape Measure, Saw, File, Drill, Screw driver, Scissors, Wire Stripper, Solder Iron |

Need Assistance? Give us a call and we'd be happy to help you with your project. We provide free quote and layout services.
1.) Measure the Space for your Lighting
2.) Mark the Cut Line on Aluminum Channel
3.) Cut the Aluminum Channel to Length
4.) Cut the LED Strip Lights to Length
5.) Solder Wire Leads to the LED Strip Lights
6.) Adhere the Strip Lights to the Aluminum Channel
7.) Cut the Plastic Extrusion Cover to Length
8.) Assemble Pieces to Complete Extrusion
9.) Secure Extrusion Mounting Clips
10.) Snap Extrusions to Mounting Clips
11.) Wire to Your 12VDC Power Source
12.) Conceal your Connection Wires and Accessories
Related Categories
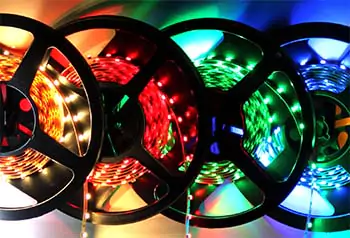 Ribbon Star UL Listed LED Strip Lights
Our commercial grade LED Strip Lights are manufactured with only the highest quality parts. Every strip light begins with a heavy duty dual core copper printed circuit board (PC Board) and then is soldered with an array of chip and color options. The backside of the PC board is applied with real deal double sided 3M tape for mounting that won't peel off. Each roll of strip can be cut and re-connected to low voltage power to create reliable UL Listed linear accent, task, and exterior lighting. We stock a wide range of brightness (lumens), IP Rating (waterproof), colors (kelvin) and color changing options below. Our strip lights are the best strip lights on the market.
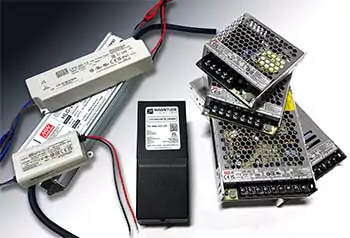 LED Power Supplies
We stock many different types of AC to DC power converters to drive your 12VDC and 24VDC LED lights, neon, modules and fixtures. Our LED Power Supplies, also known as LED Drivers or LED transformers, have universal AC inputs for both residential and industrial lighting projects. Hard wire your transformer to your AC source or use any of our wall plug cords and accessories to plug a power supply into any existing light socket. Use our different types of high quality Mean Well and Magnitude transformers and drivers for your next low voltage interior or exterior LED Lighting project.
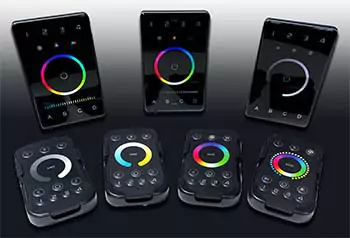 LED Lighting Controls
Browse our large selection of low voltage LED lighting controls and remotes including All in One Controllers, LED dimmers for single color LED lights, RGB Controllers, RGBW Controllers and RGB+CCT Controls for color changing LEDs as well as DMX LED controllers to create unique lighting effects for your LED lights using computerized software.
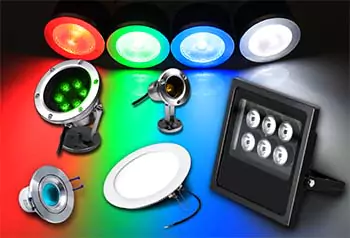 LED Light Fixtures
Browse our large selections of eco-friendly LED lights and fixtures. RGB LED color changing lights, RGBW 4 color LED downlights, flood and wall washers. Whether you need home or business lighting our industrial LED fixtures can easily be installed for accent, spot lighting, and outdoor building and sign illumination. We have products for both indoor and outdoor lighting projects in a wide array of color temperatures and styles.
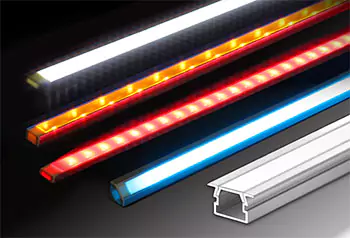 KLUS Strip Light Channels & Diffusers
Browse our wide variety of KLUS brand LED Strip Light Channels and Diffusers to create custom and quality linear LED lighting fixtures for any application. The aluminum channels, also known as LED profiles, are not only a great housing for light strips but also act as a heat sink for them as well, which in turn will expand your LEDs lifetime as well as brightness over time. Extrusions are sold in 1M, 2M and some in 3M lengths and can be cut and customized to fit any project. We have LED Extrusions for 8mm, 10mm, 12mm, doublewide, as well as waterproof outdoor rated channels. 2M lengths are available for all channels, some are available in 3M lengths, but not stocked please call 775-636-6060 to arrange a drop-ship.
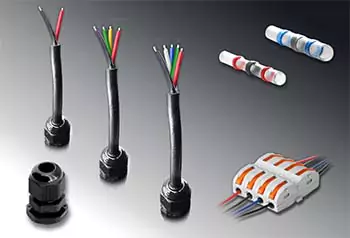 LED Wiring Accessories
LED Lighting Accessories are essential in any low voltage LED lighting install. Without using the proper wire or having secure wire connections their is risk of electrical shock or fire damage, which nobody wants. We stock a complete line of DC connection wire, wire connectors rated for up to 300V as well as IP68 waterproof junction boxes that are rated to be submersed for underwater wiring purposes. Don't shortcut the essential of your LED project and use our wiring accessories for a secure and safe wire electrical circuit.


